Skip to content

Training Program

Elite Strength Program

Phases
6
Drills
59
Required Equipment
2

About this Program

Everything you need to know

01

Recommended For


▀ ▀ ▀ ▀ ▀

✓  Recommended For:

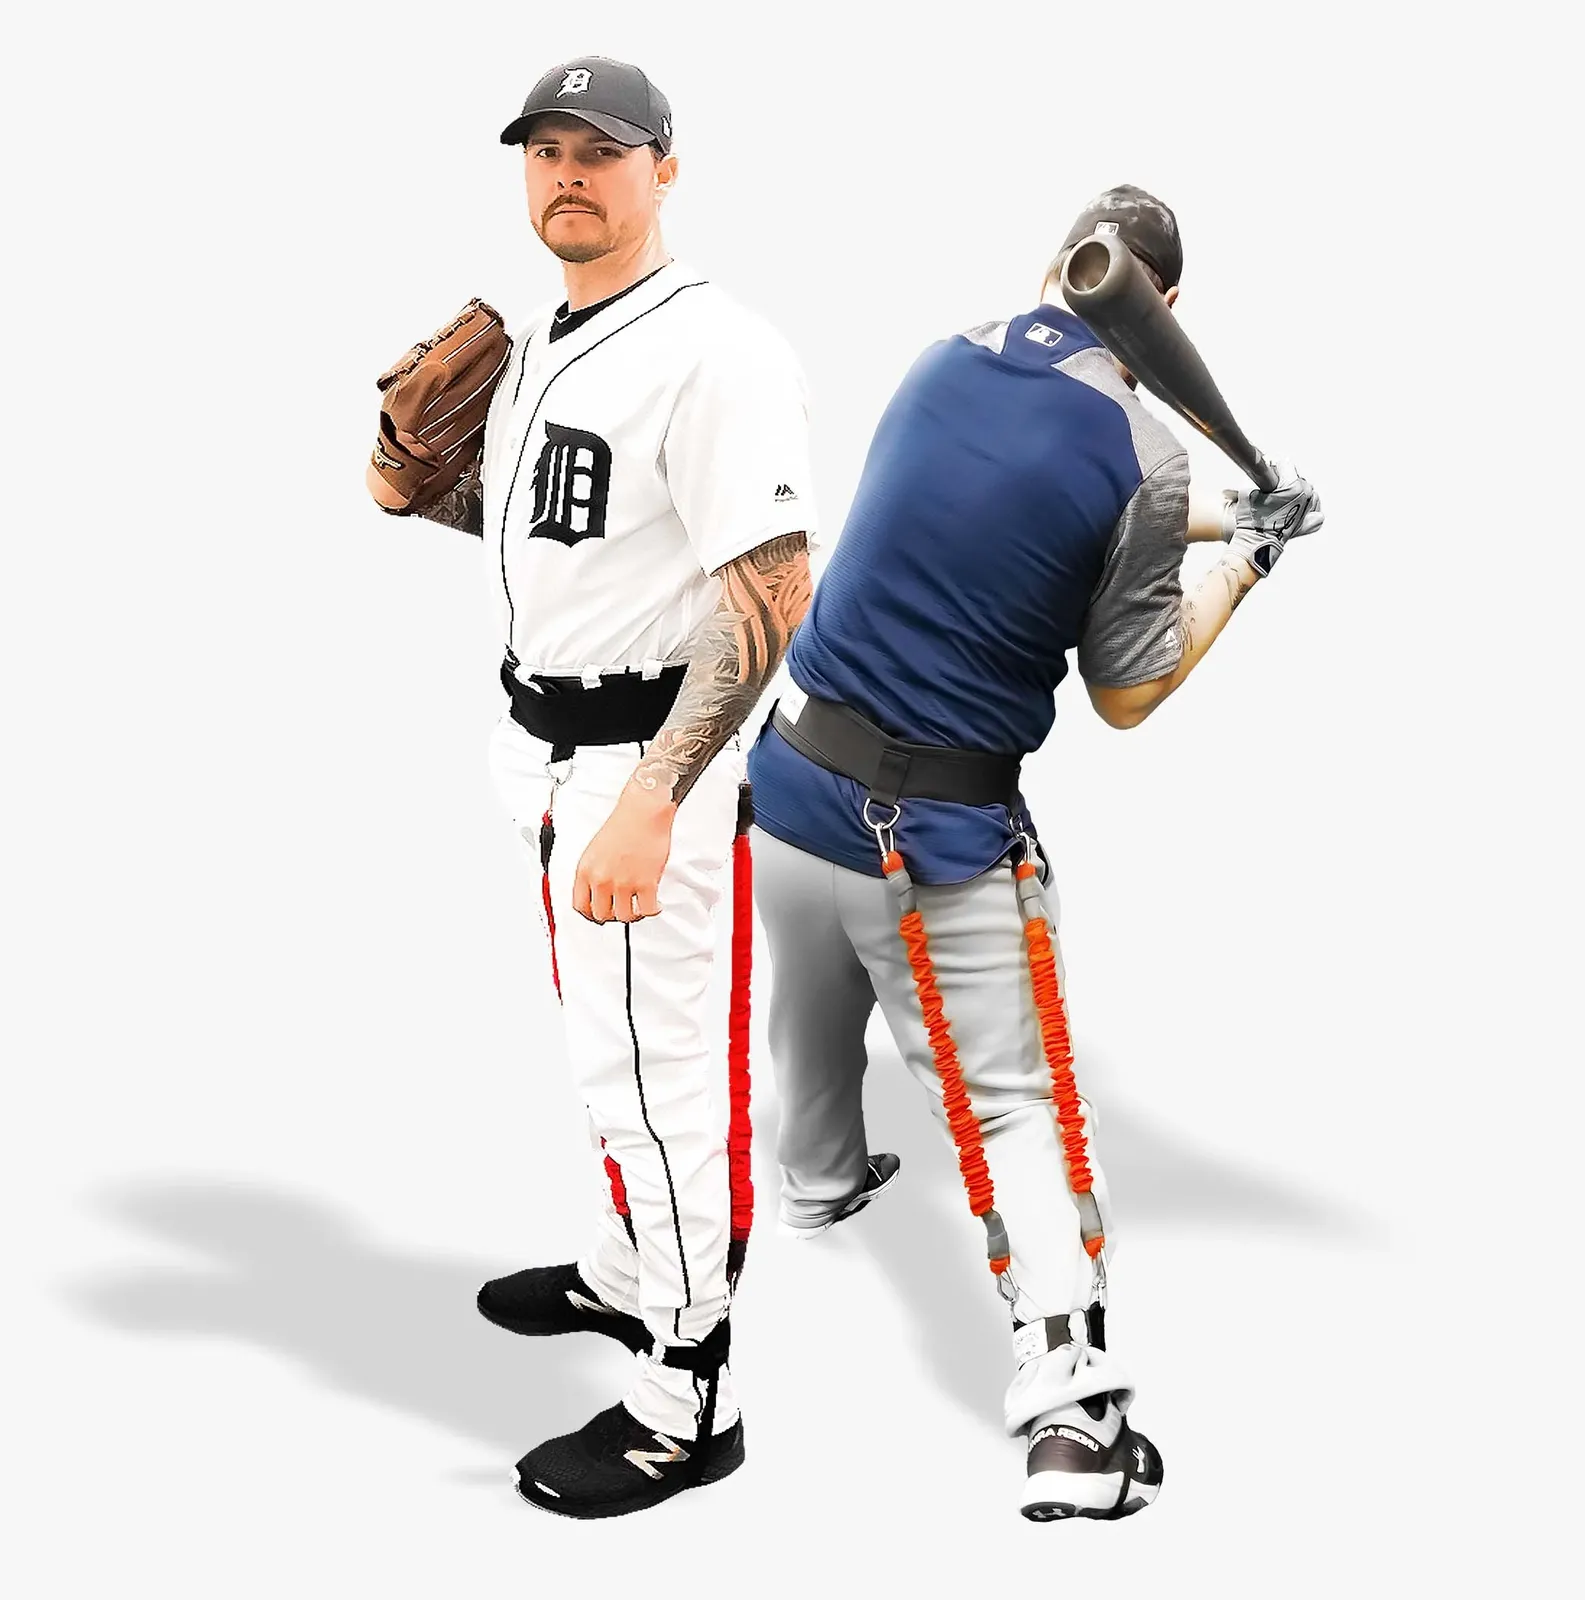
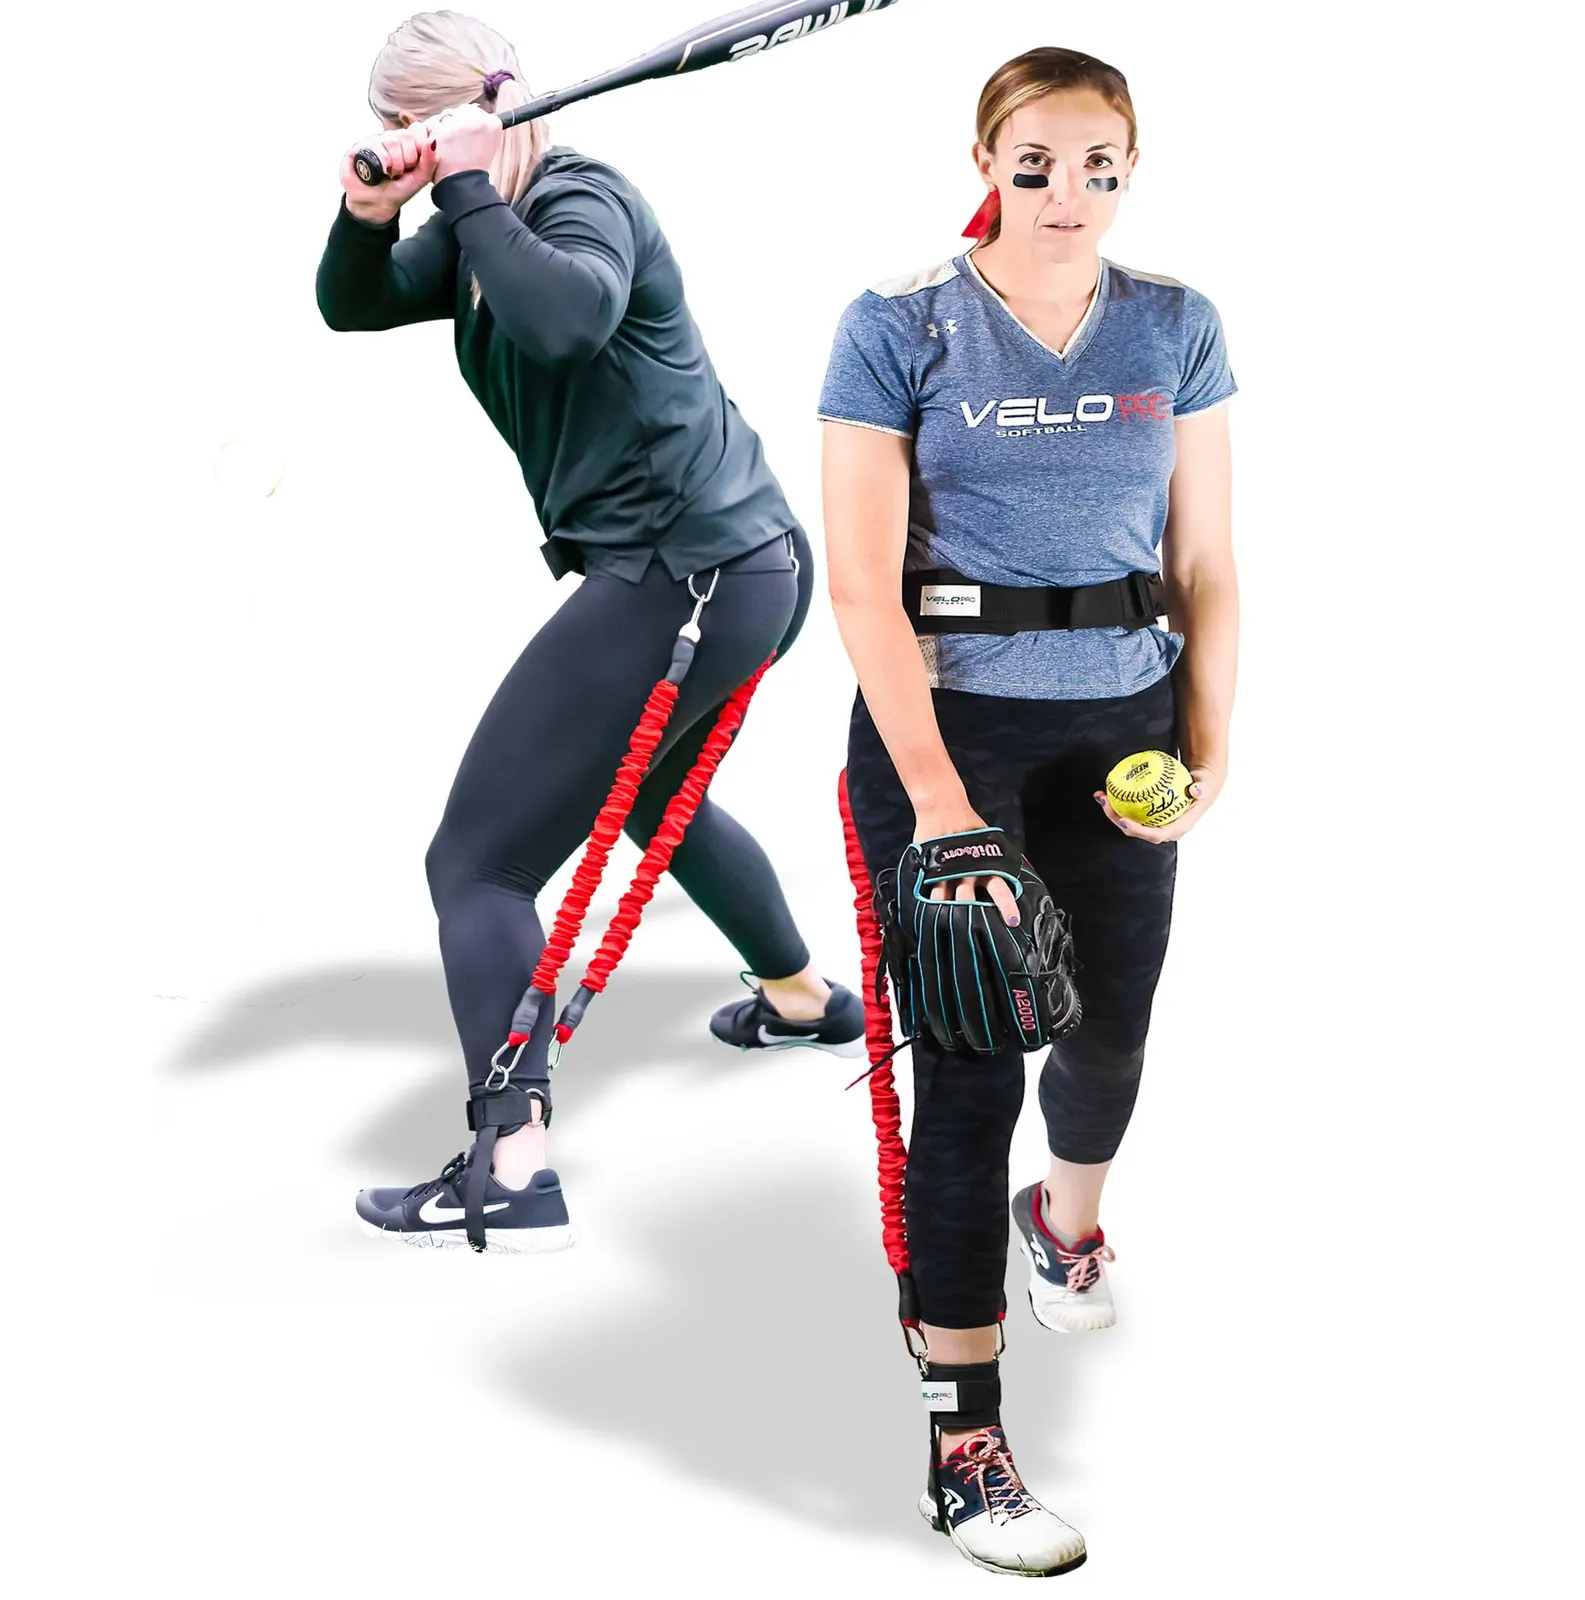
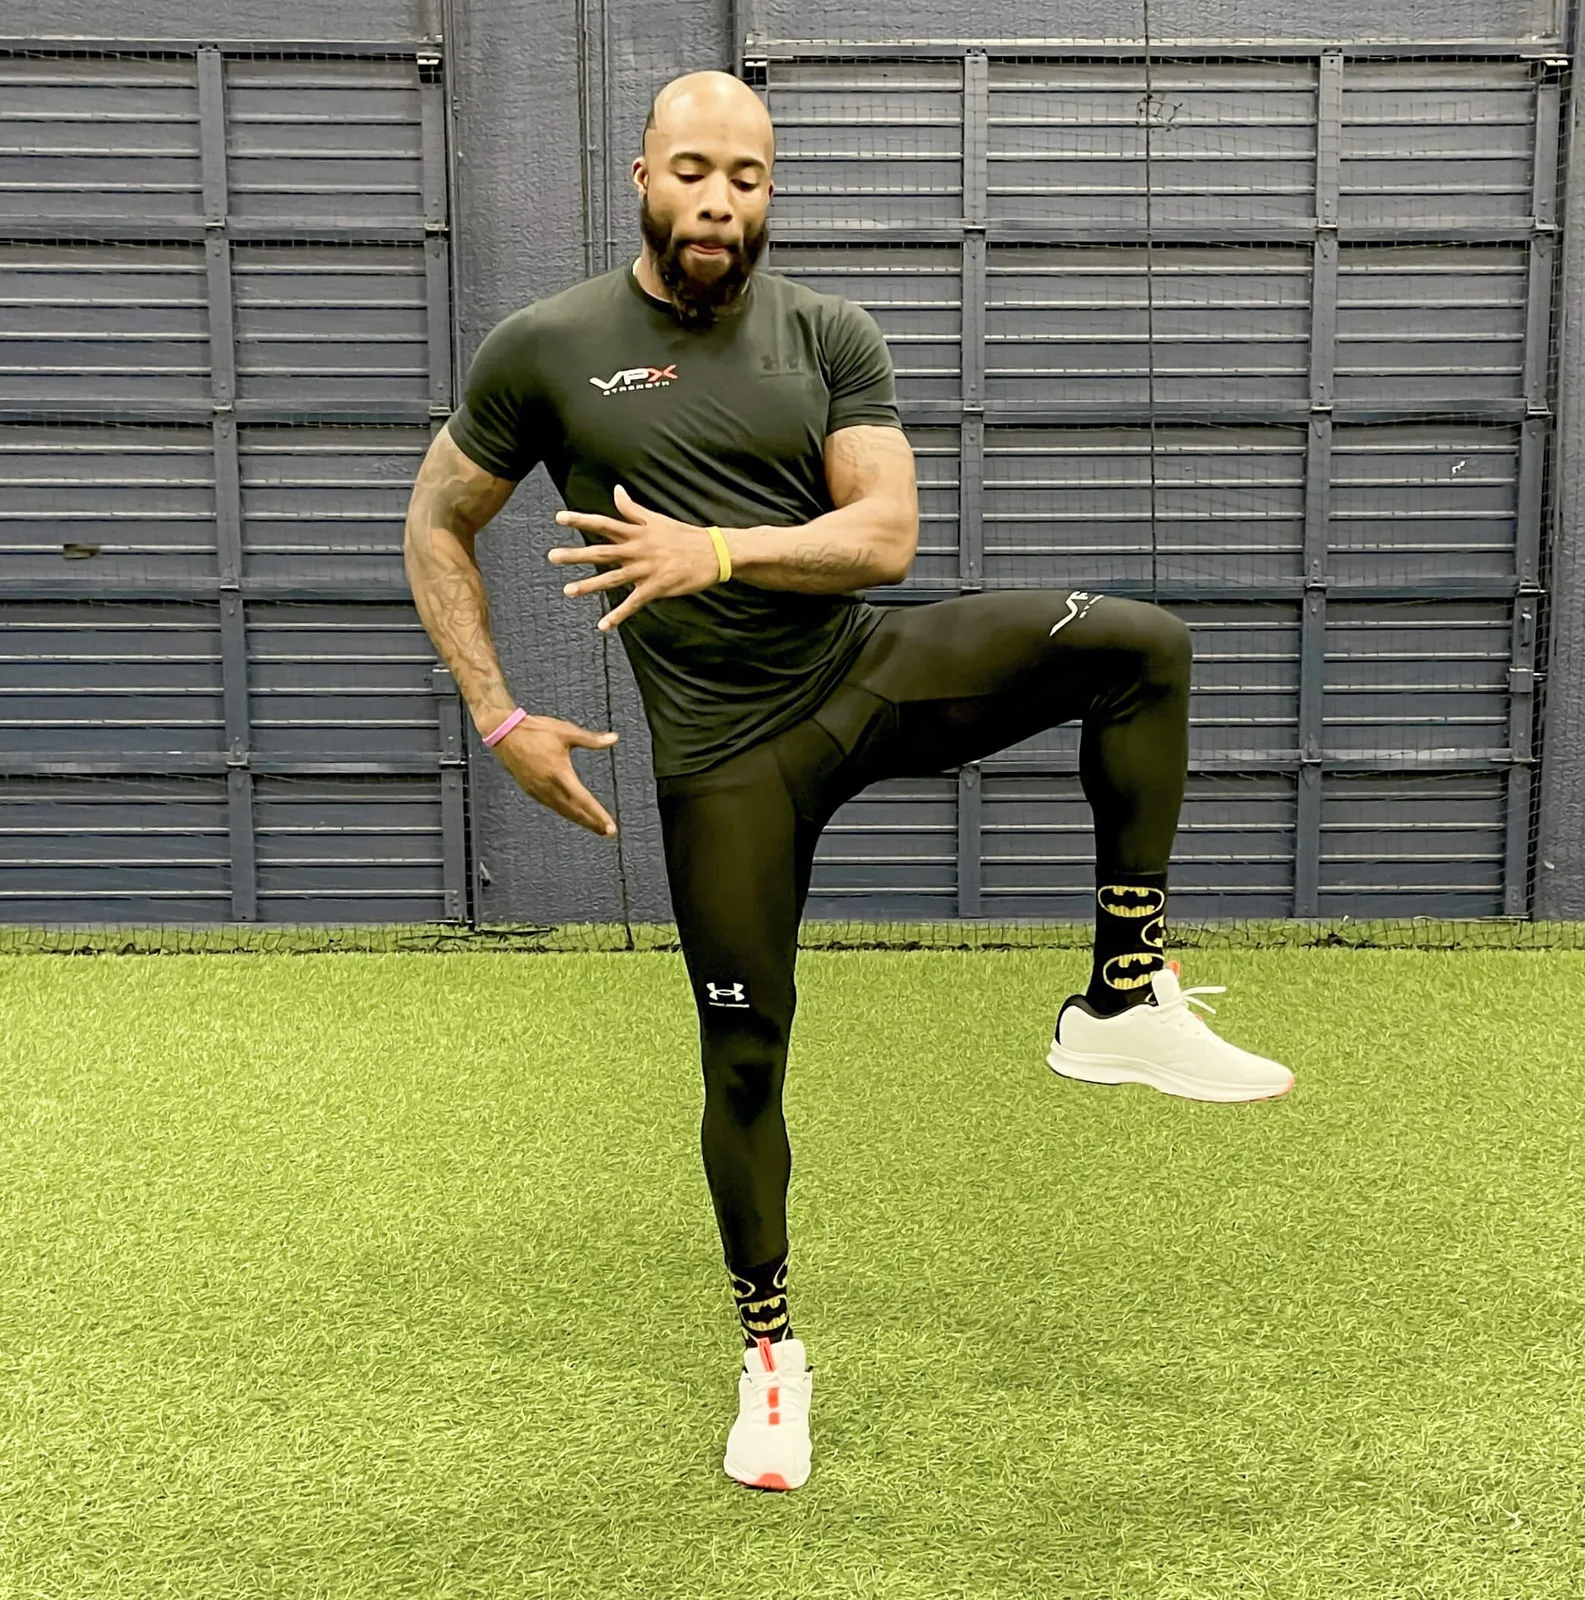
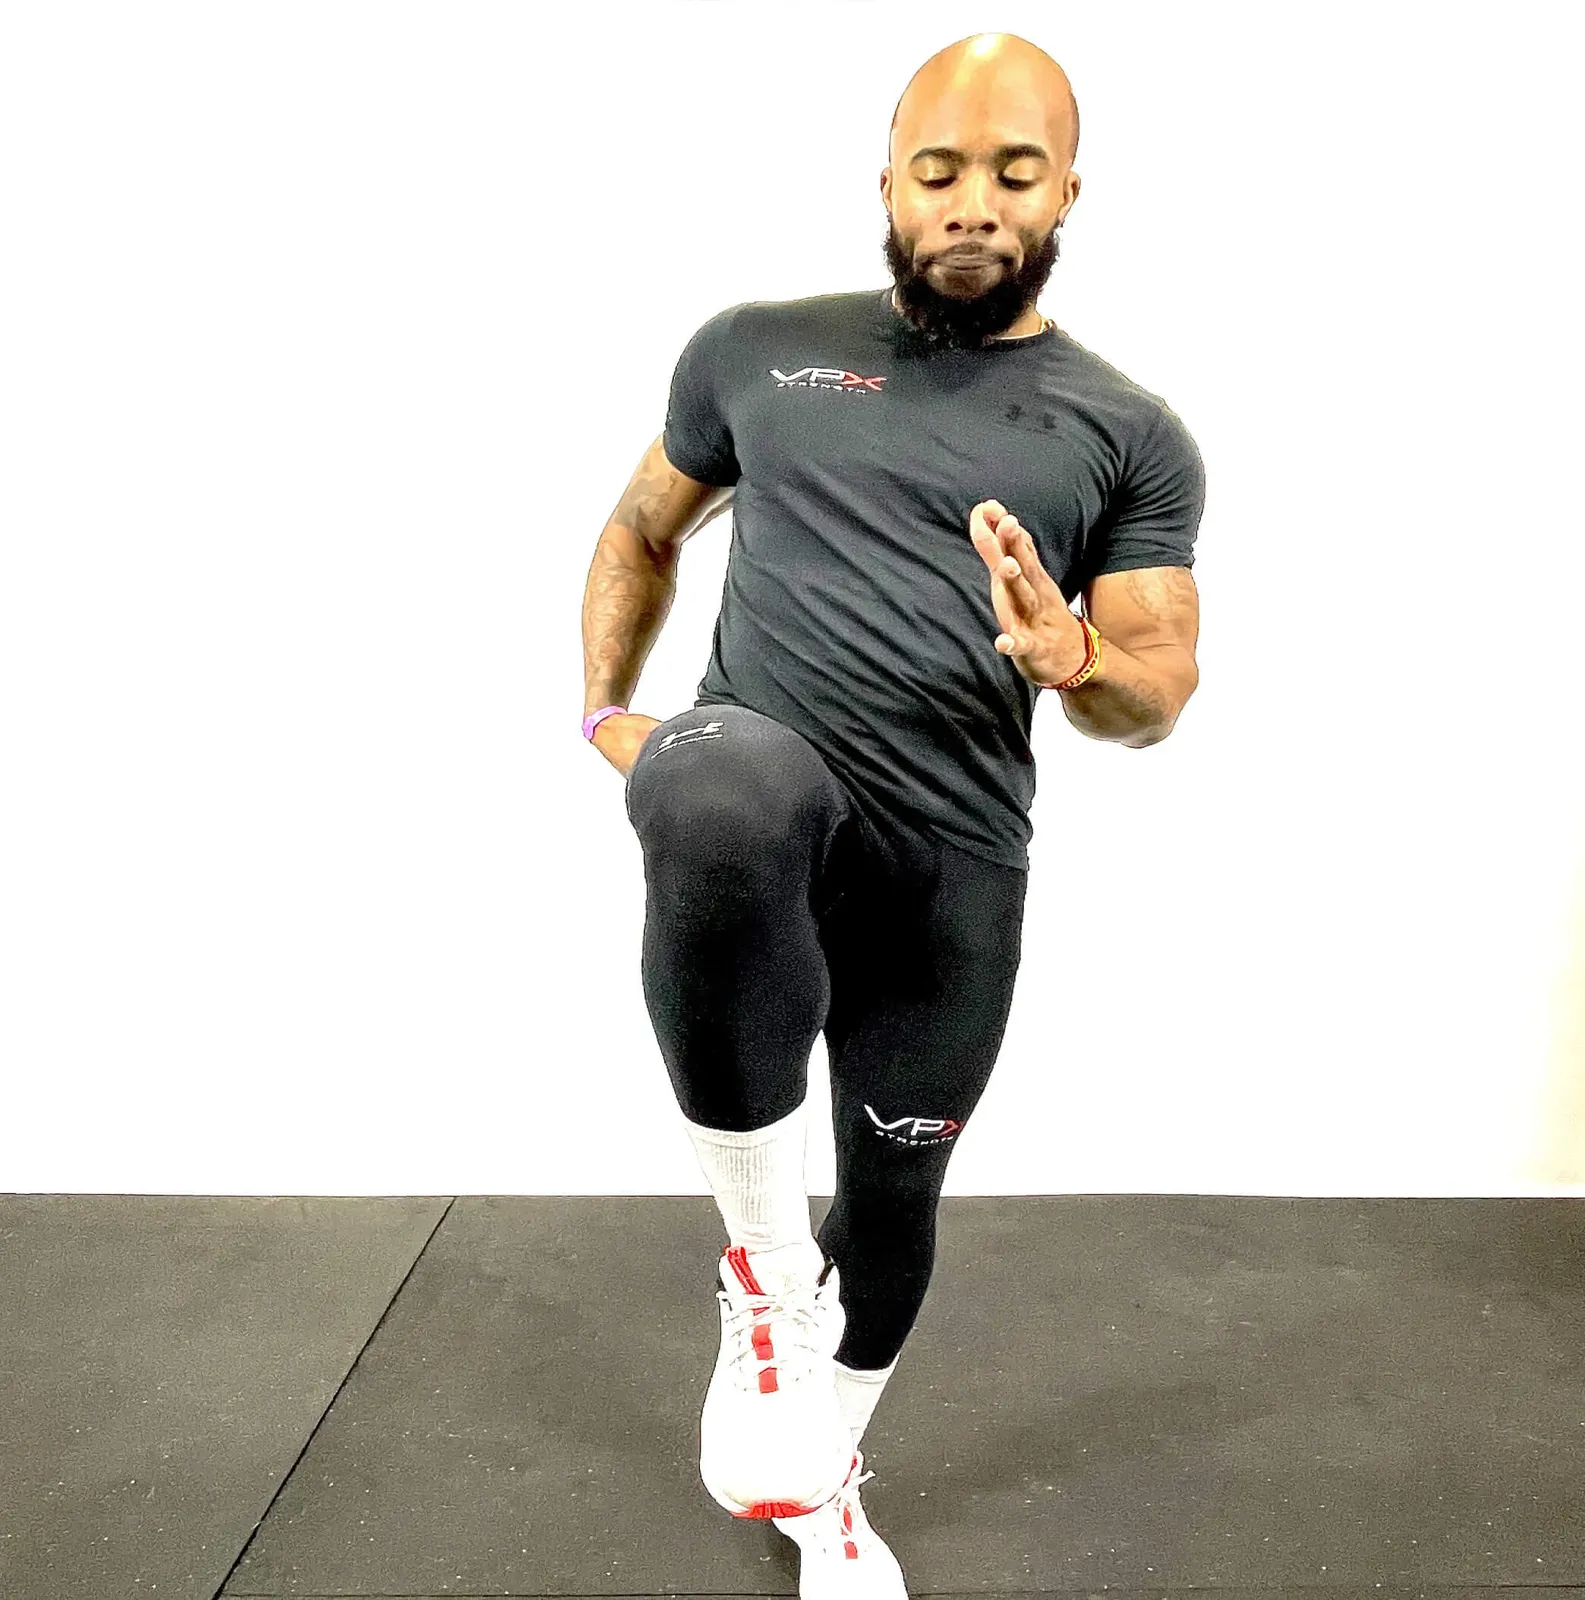
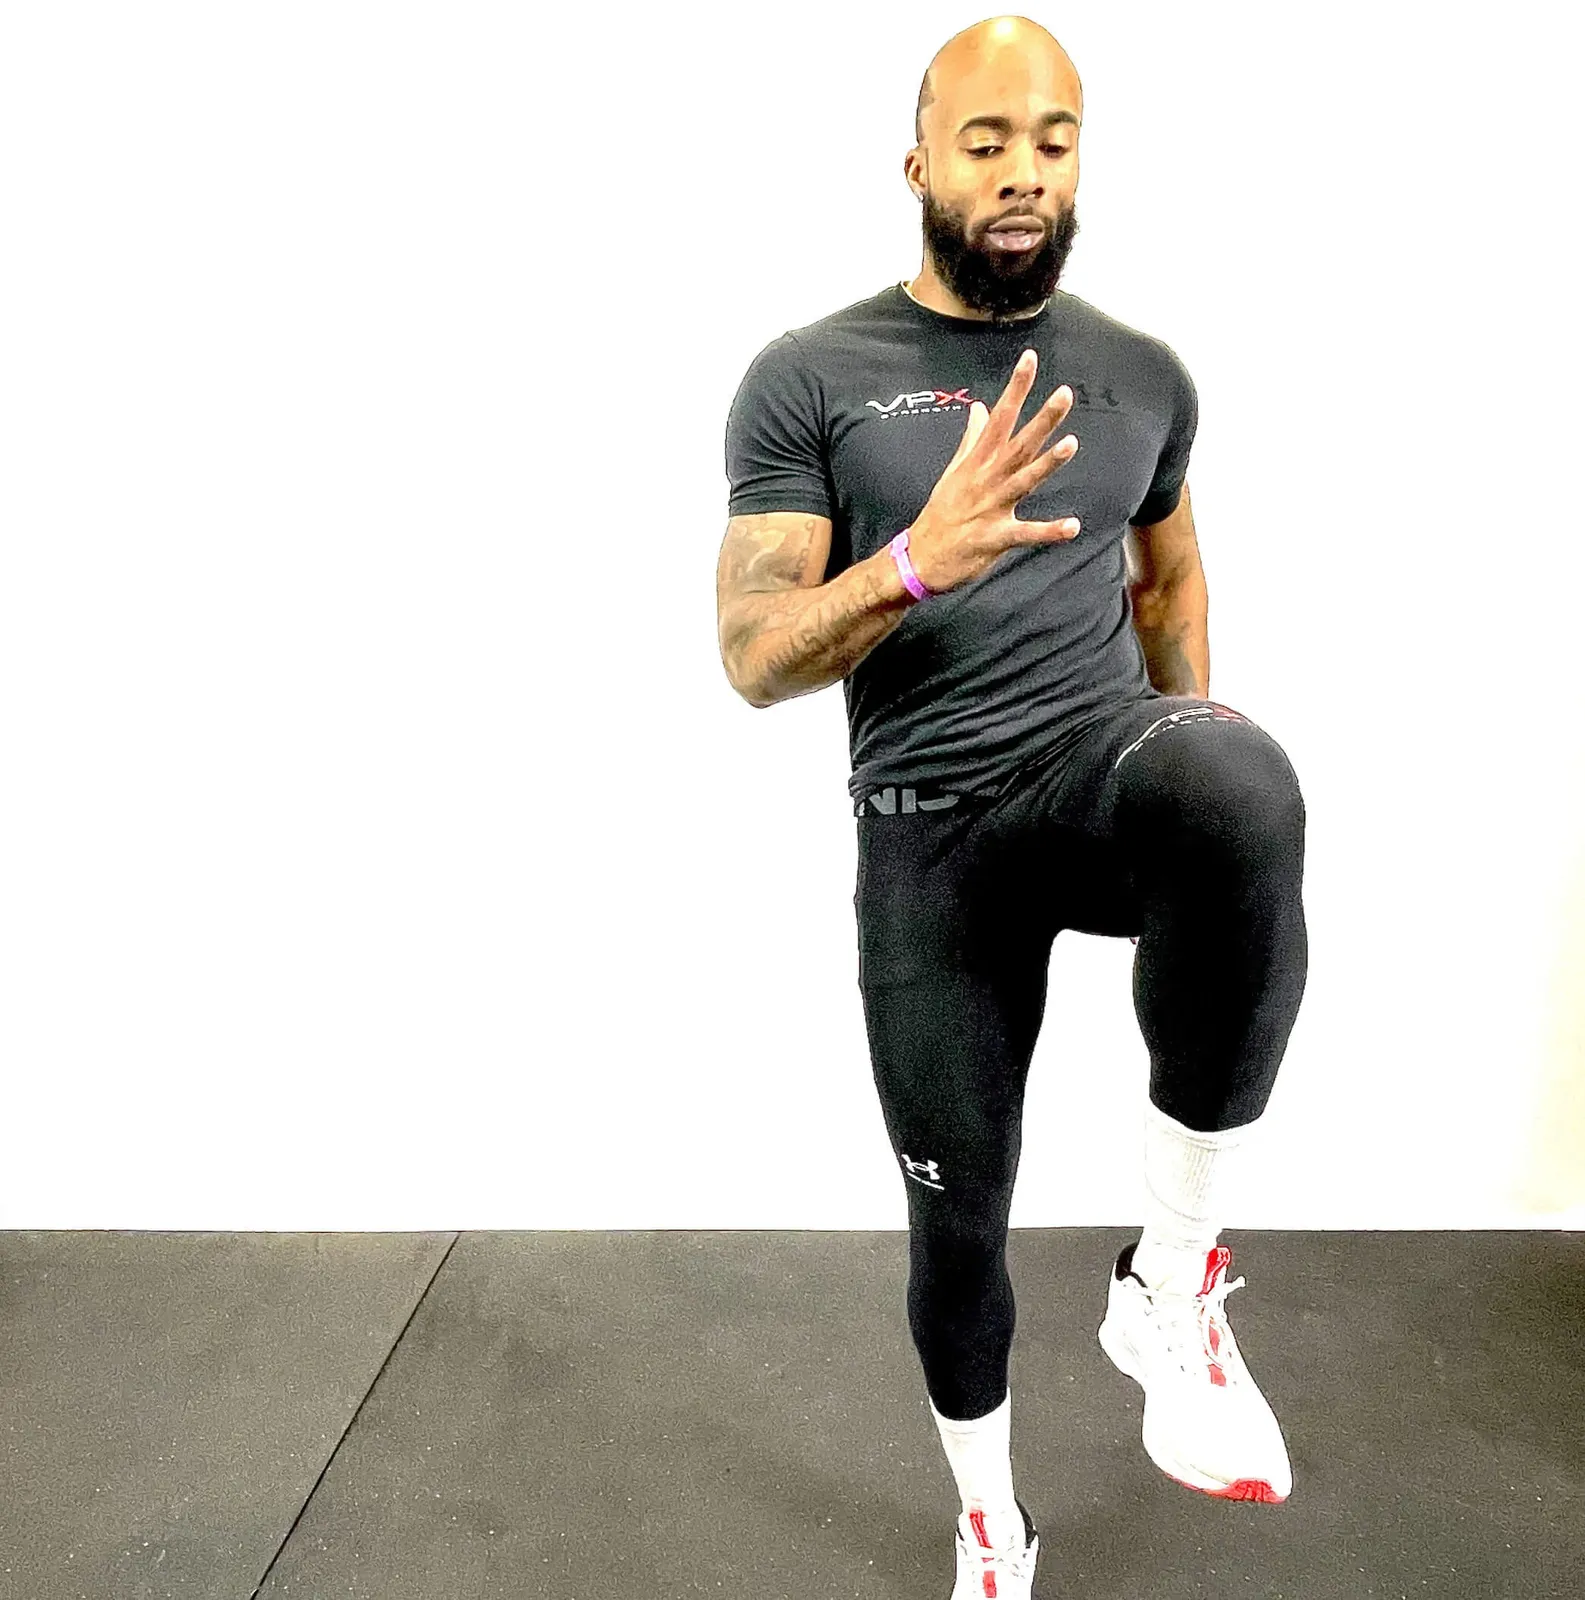
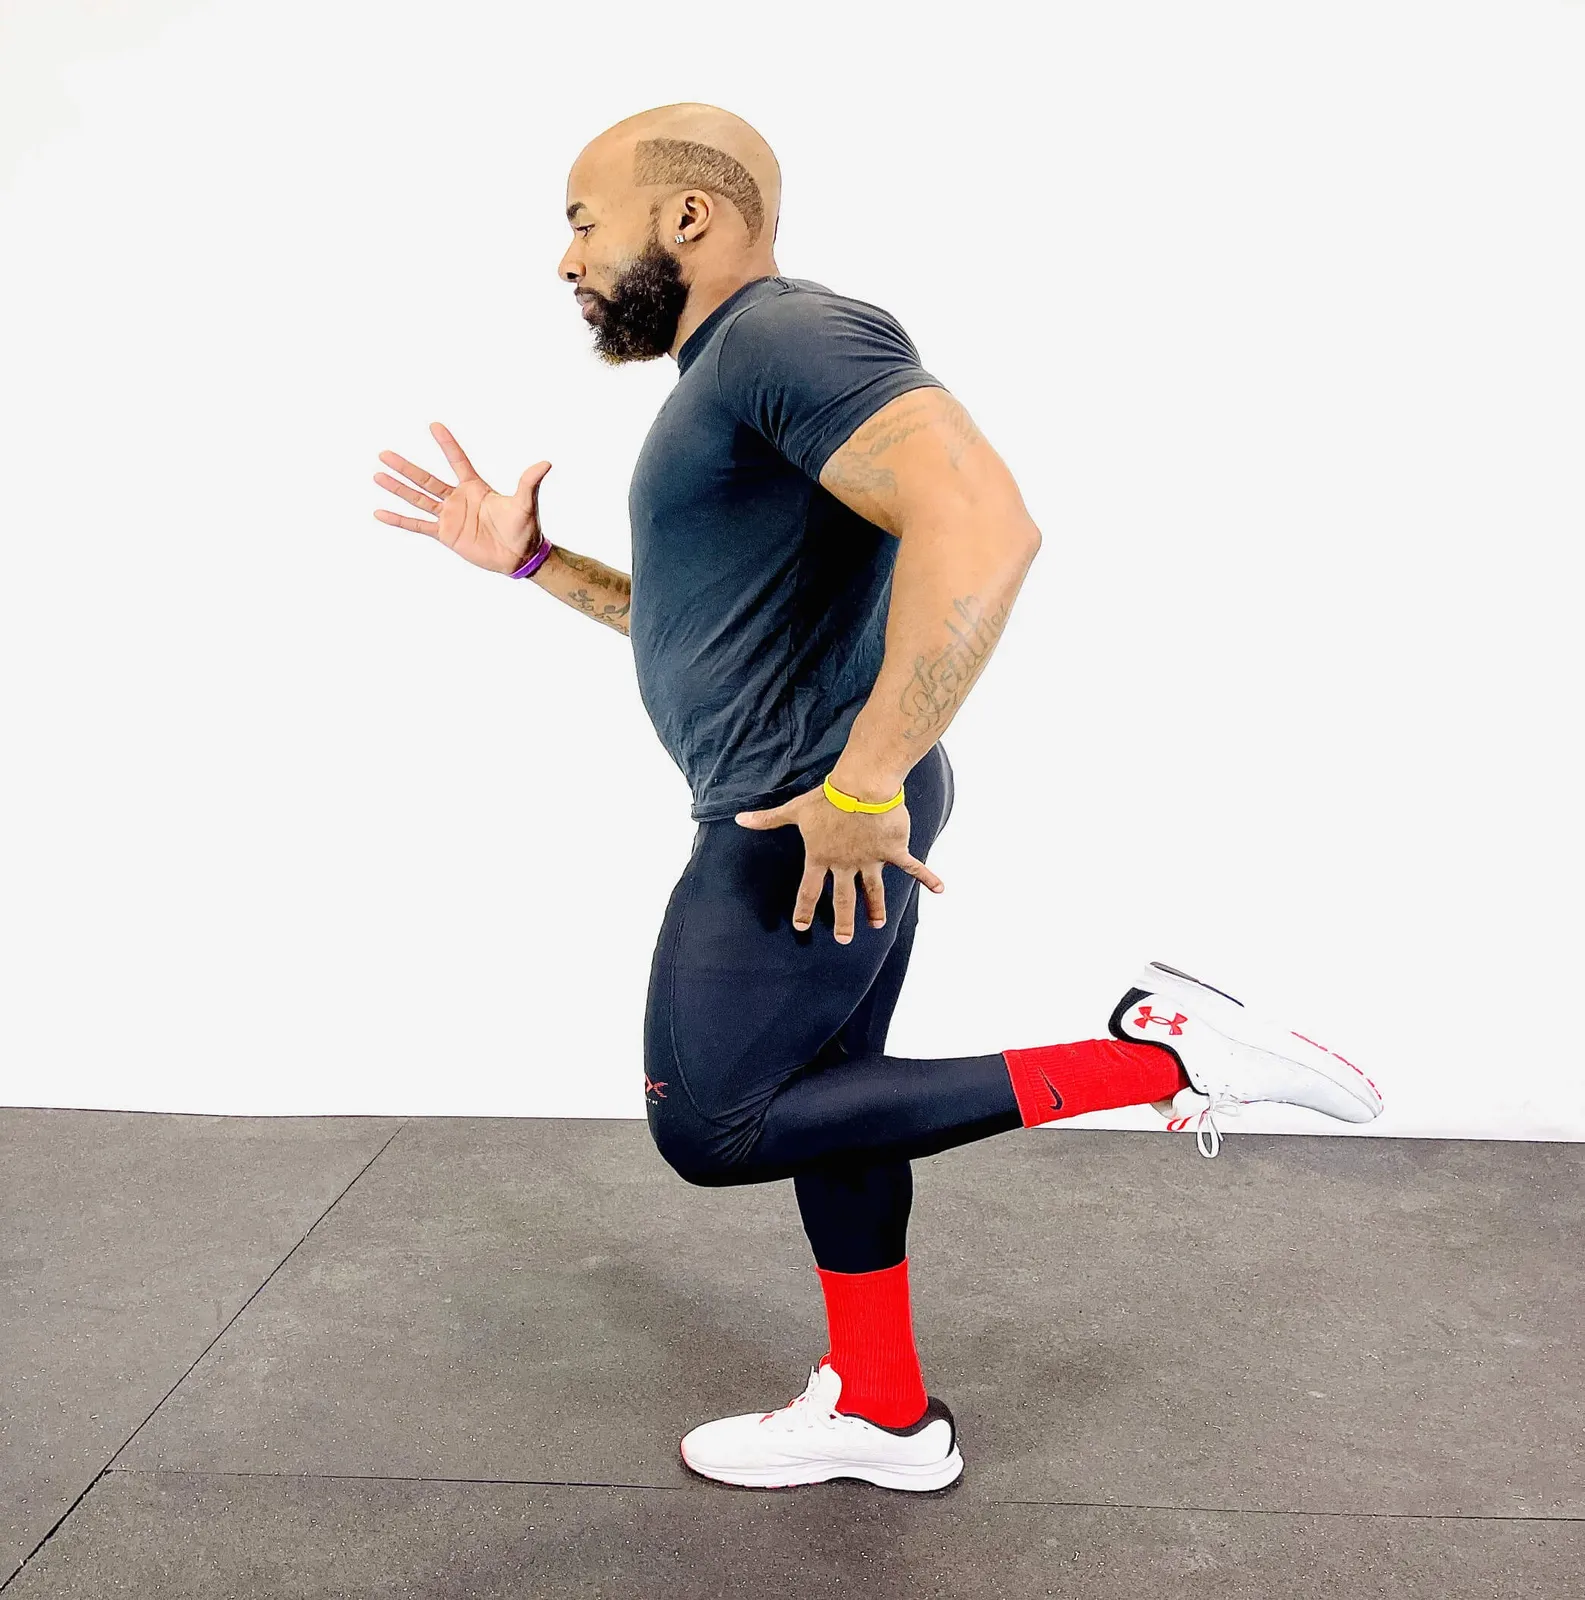
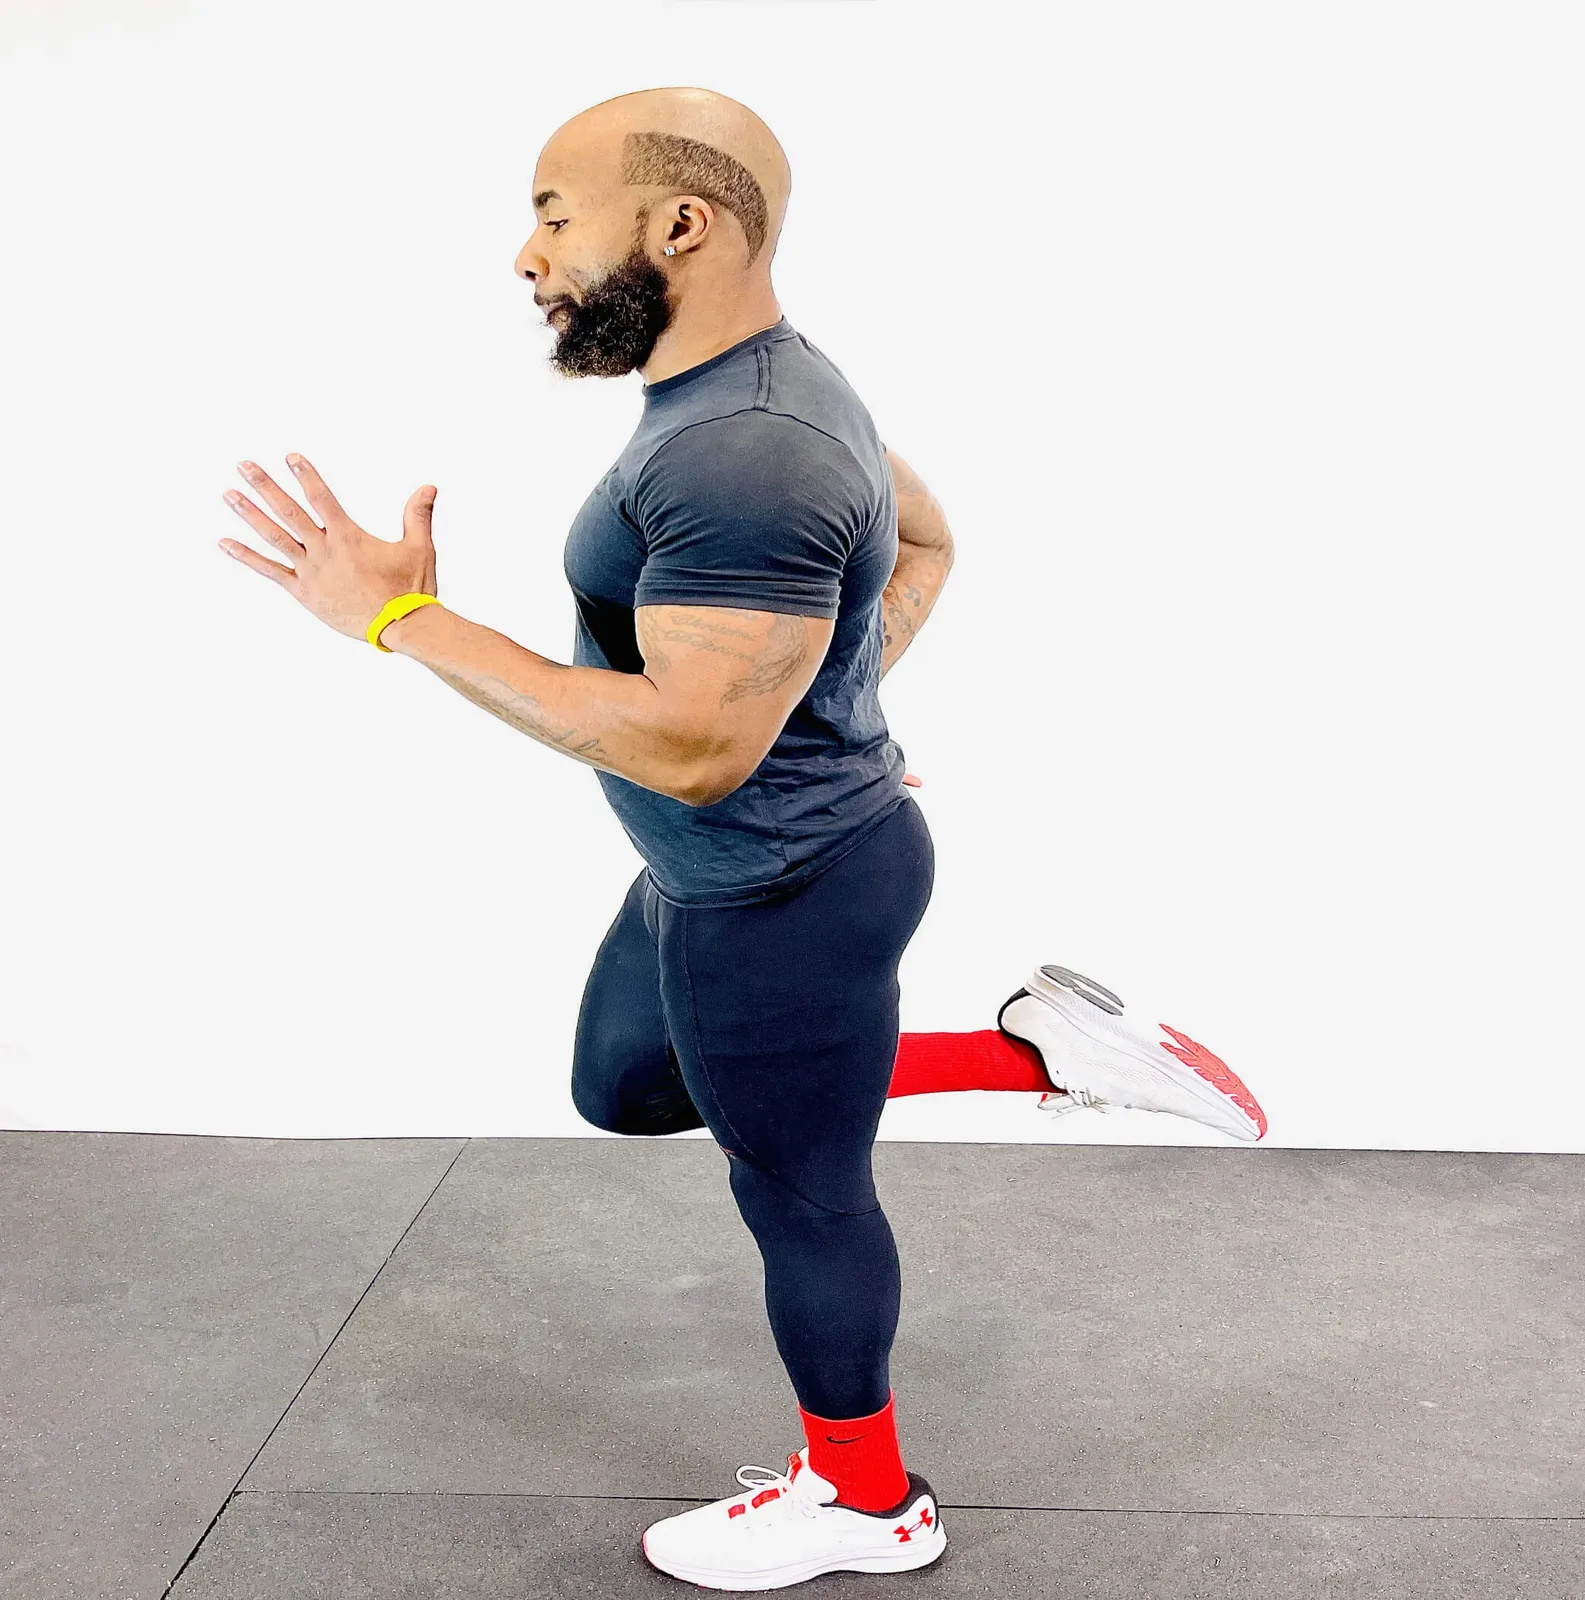
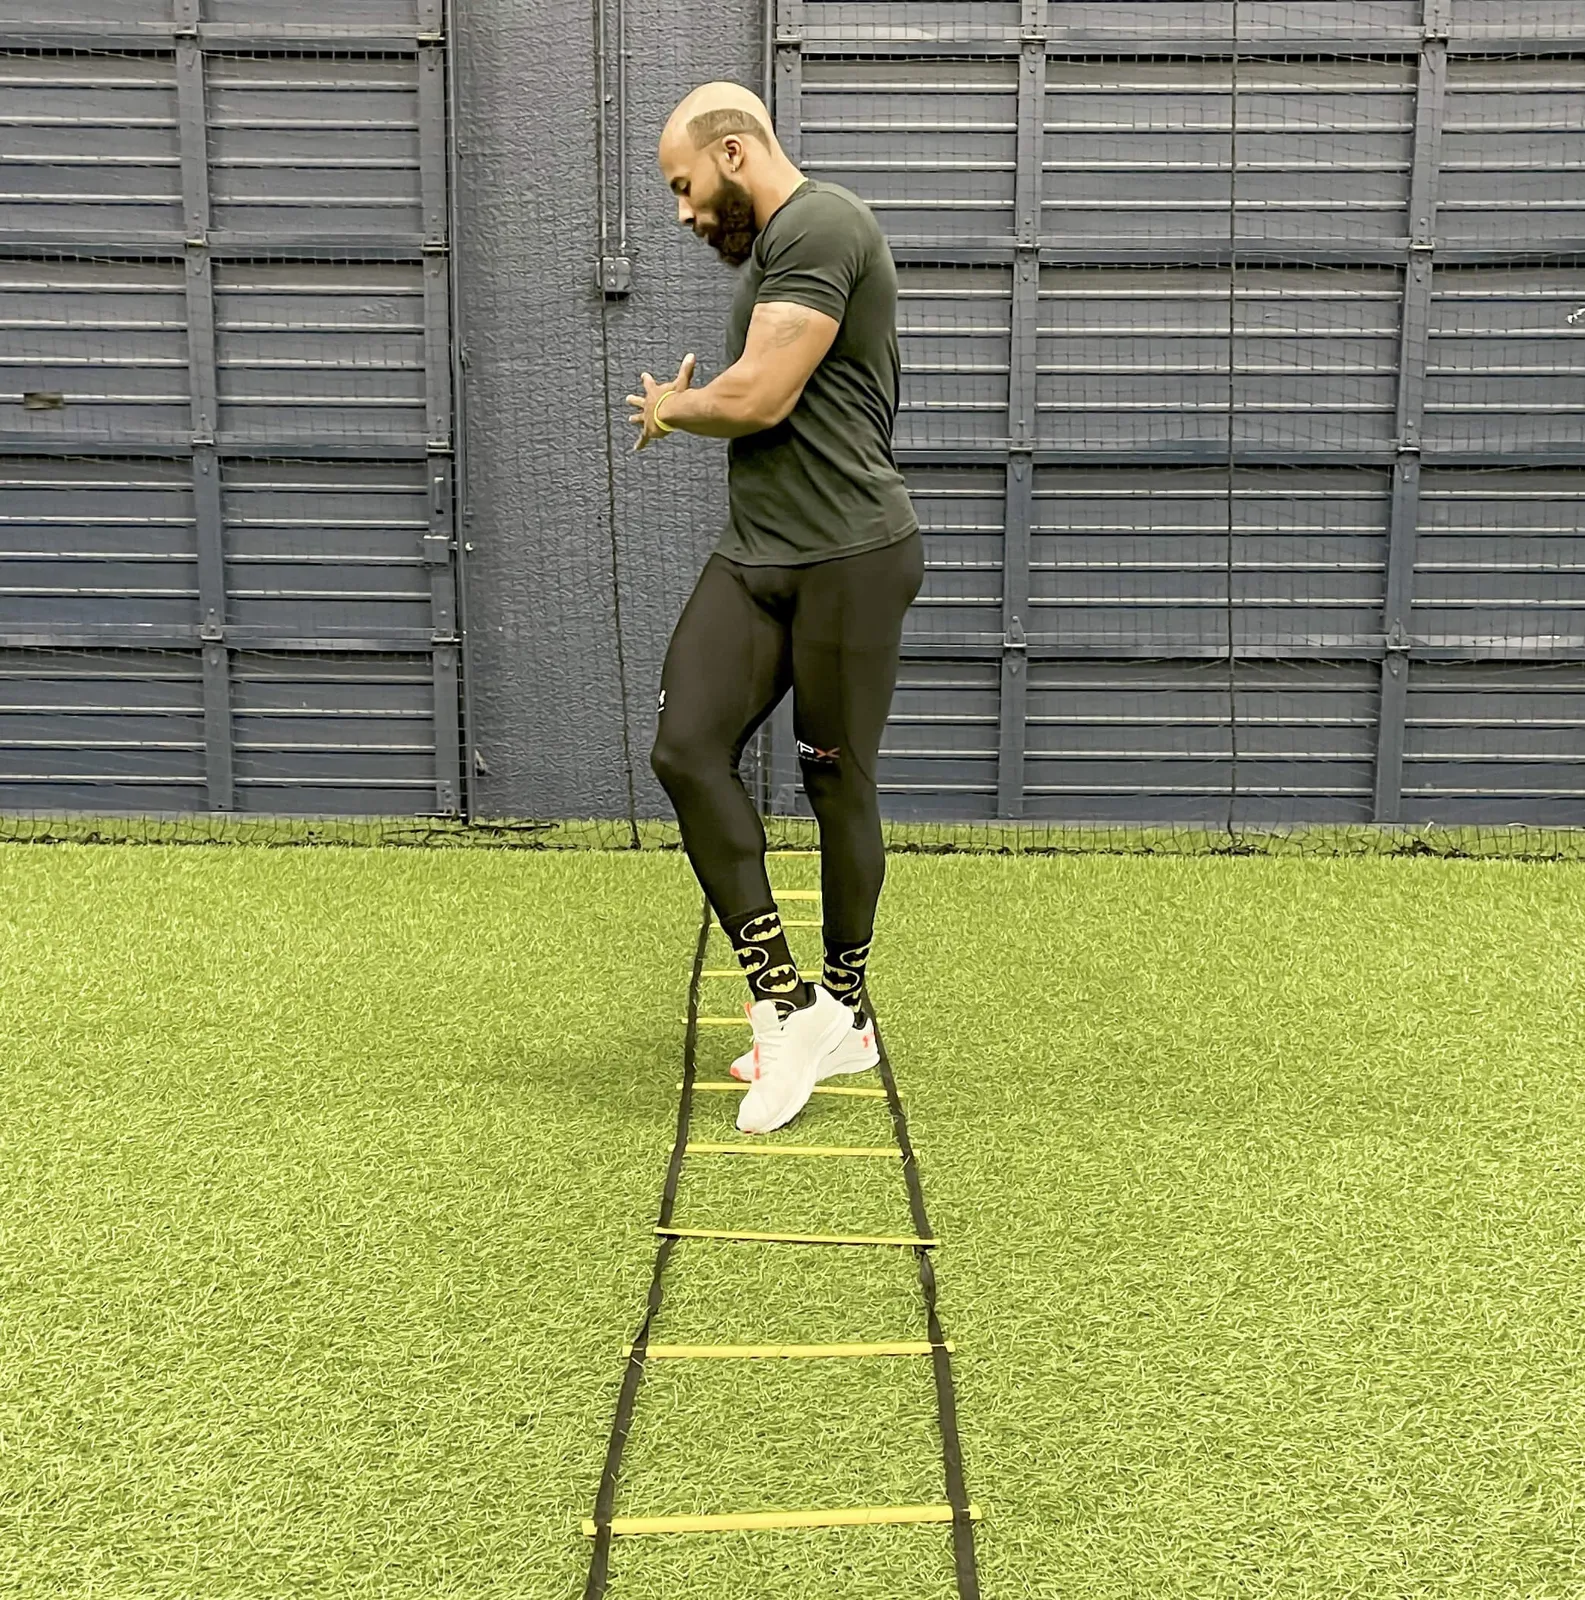
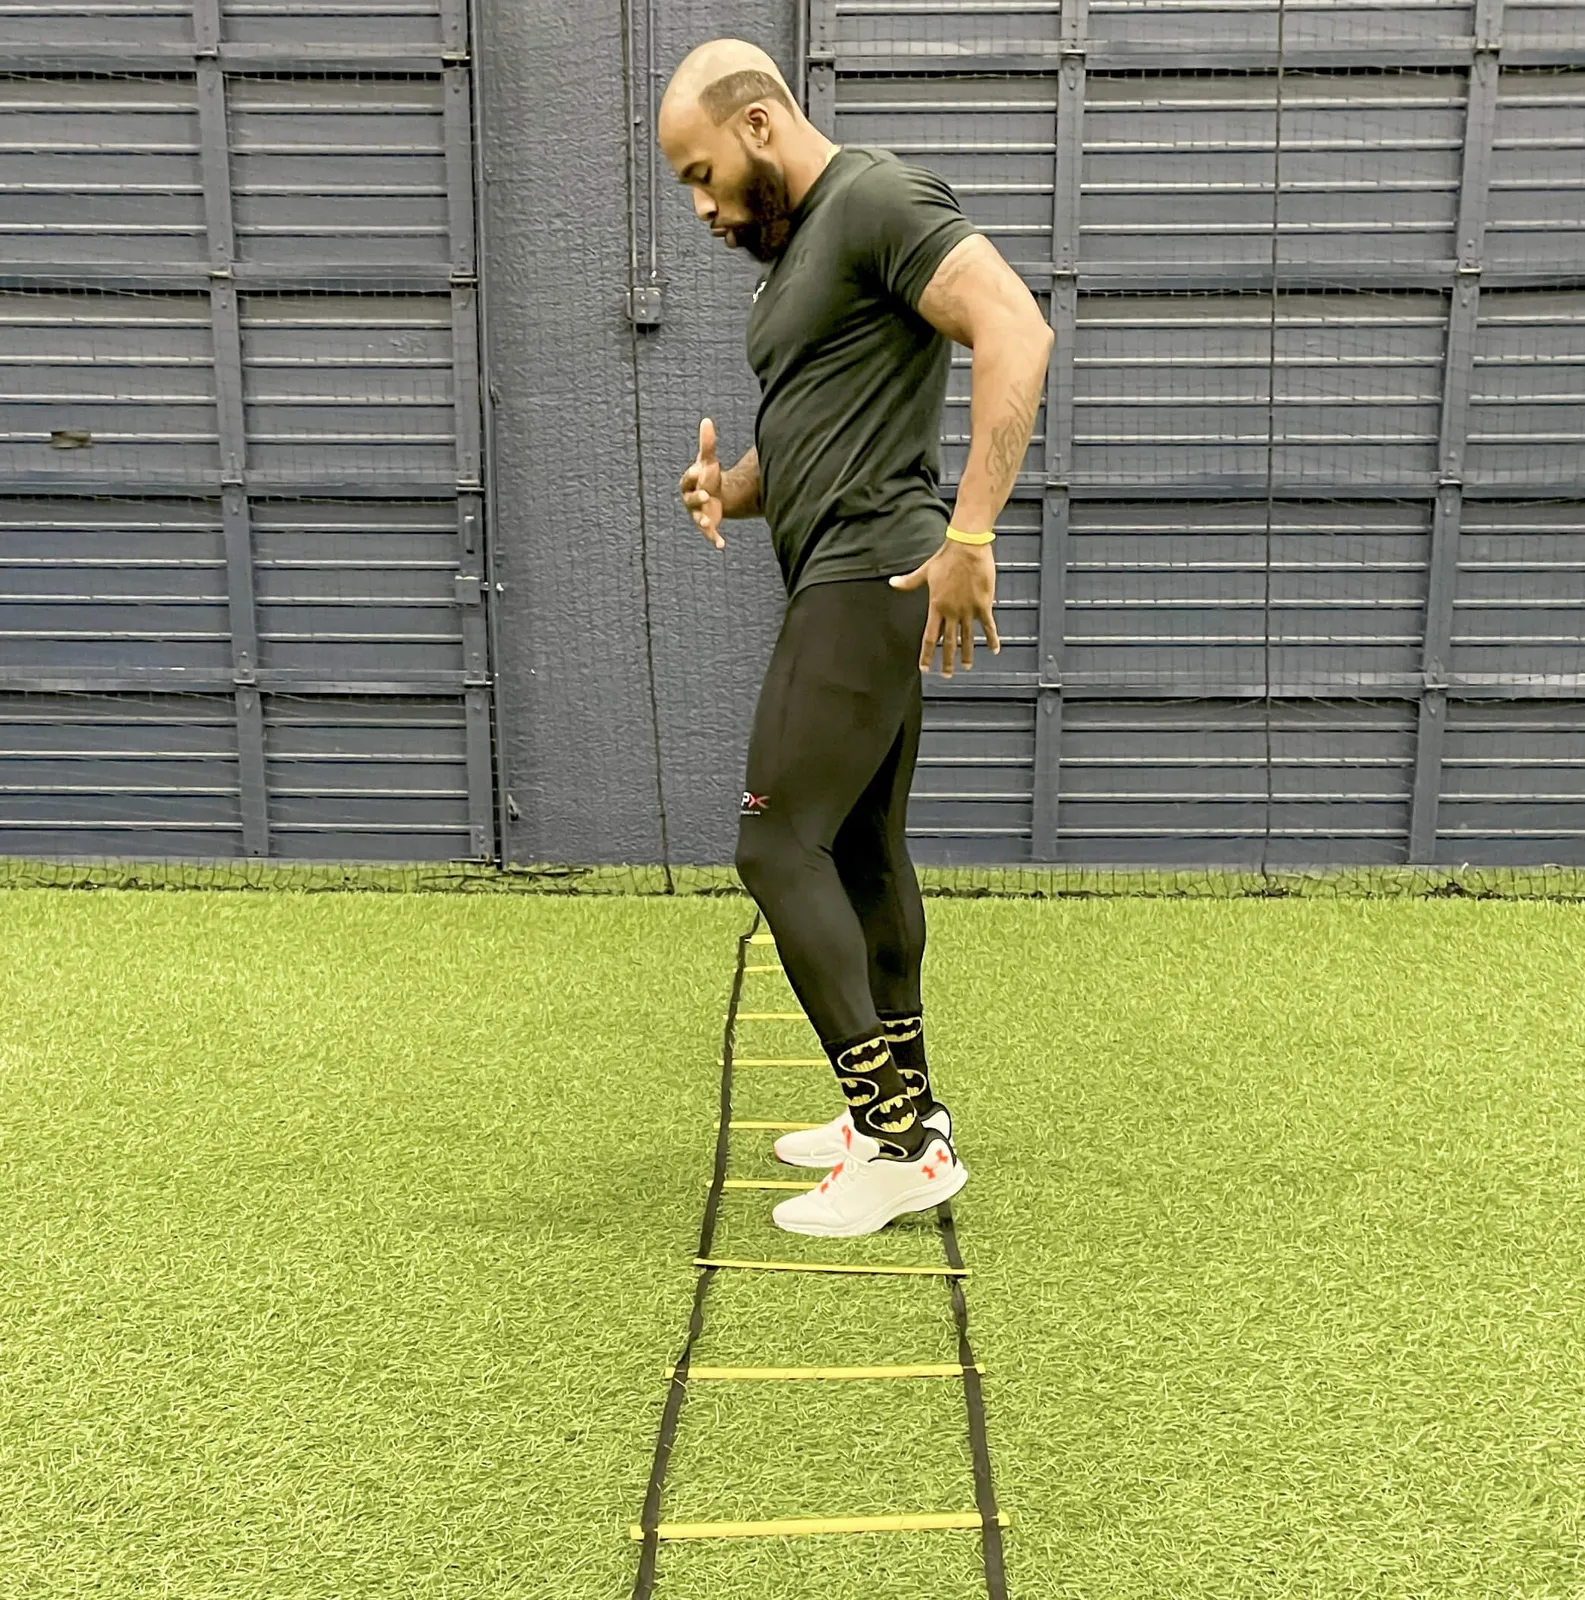
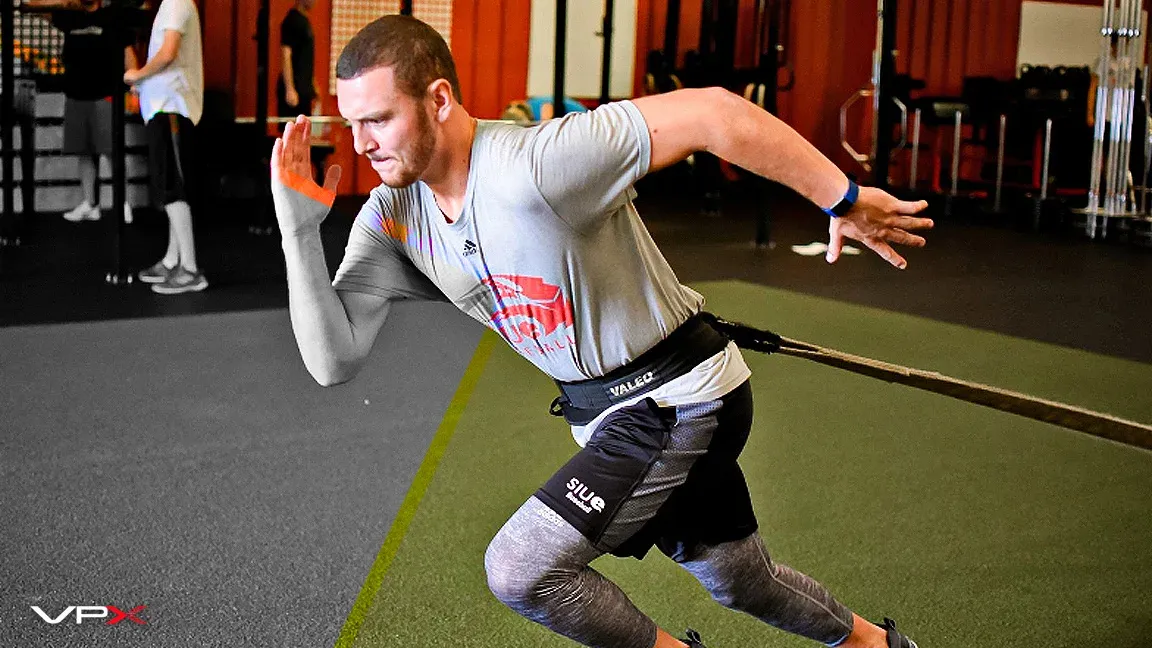
This 8wk elite baseball and softball specific strength program (ages 13 & Up) is for hitters and pitchers wanting to get quicker, stronger, and faster. A fully encompassing sport specific program that builds muscle mass, speed, and power for on field diamond performance. Athletes should be free of injury. This is NOT a rehabilitation program, but designed for athletes whom are cleared for everyday physical activity.


▀ ▀ ▀ ▀ ▀

1.0
Specifications:

» Age: 13 & up.
» Level: Elite, High School, & Pro..
» Positions: Hitters & pitchers.

» Sport: Baseball & softball.


▀ ▀ ▀ ▀ ▀

2.0
Requirements:

» Intensity: Abide by program directives to ensure proportionate recovery & workload rates.
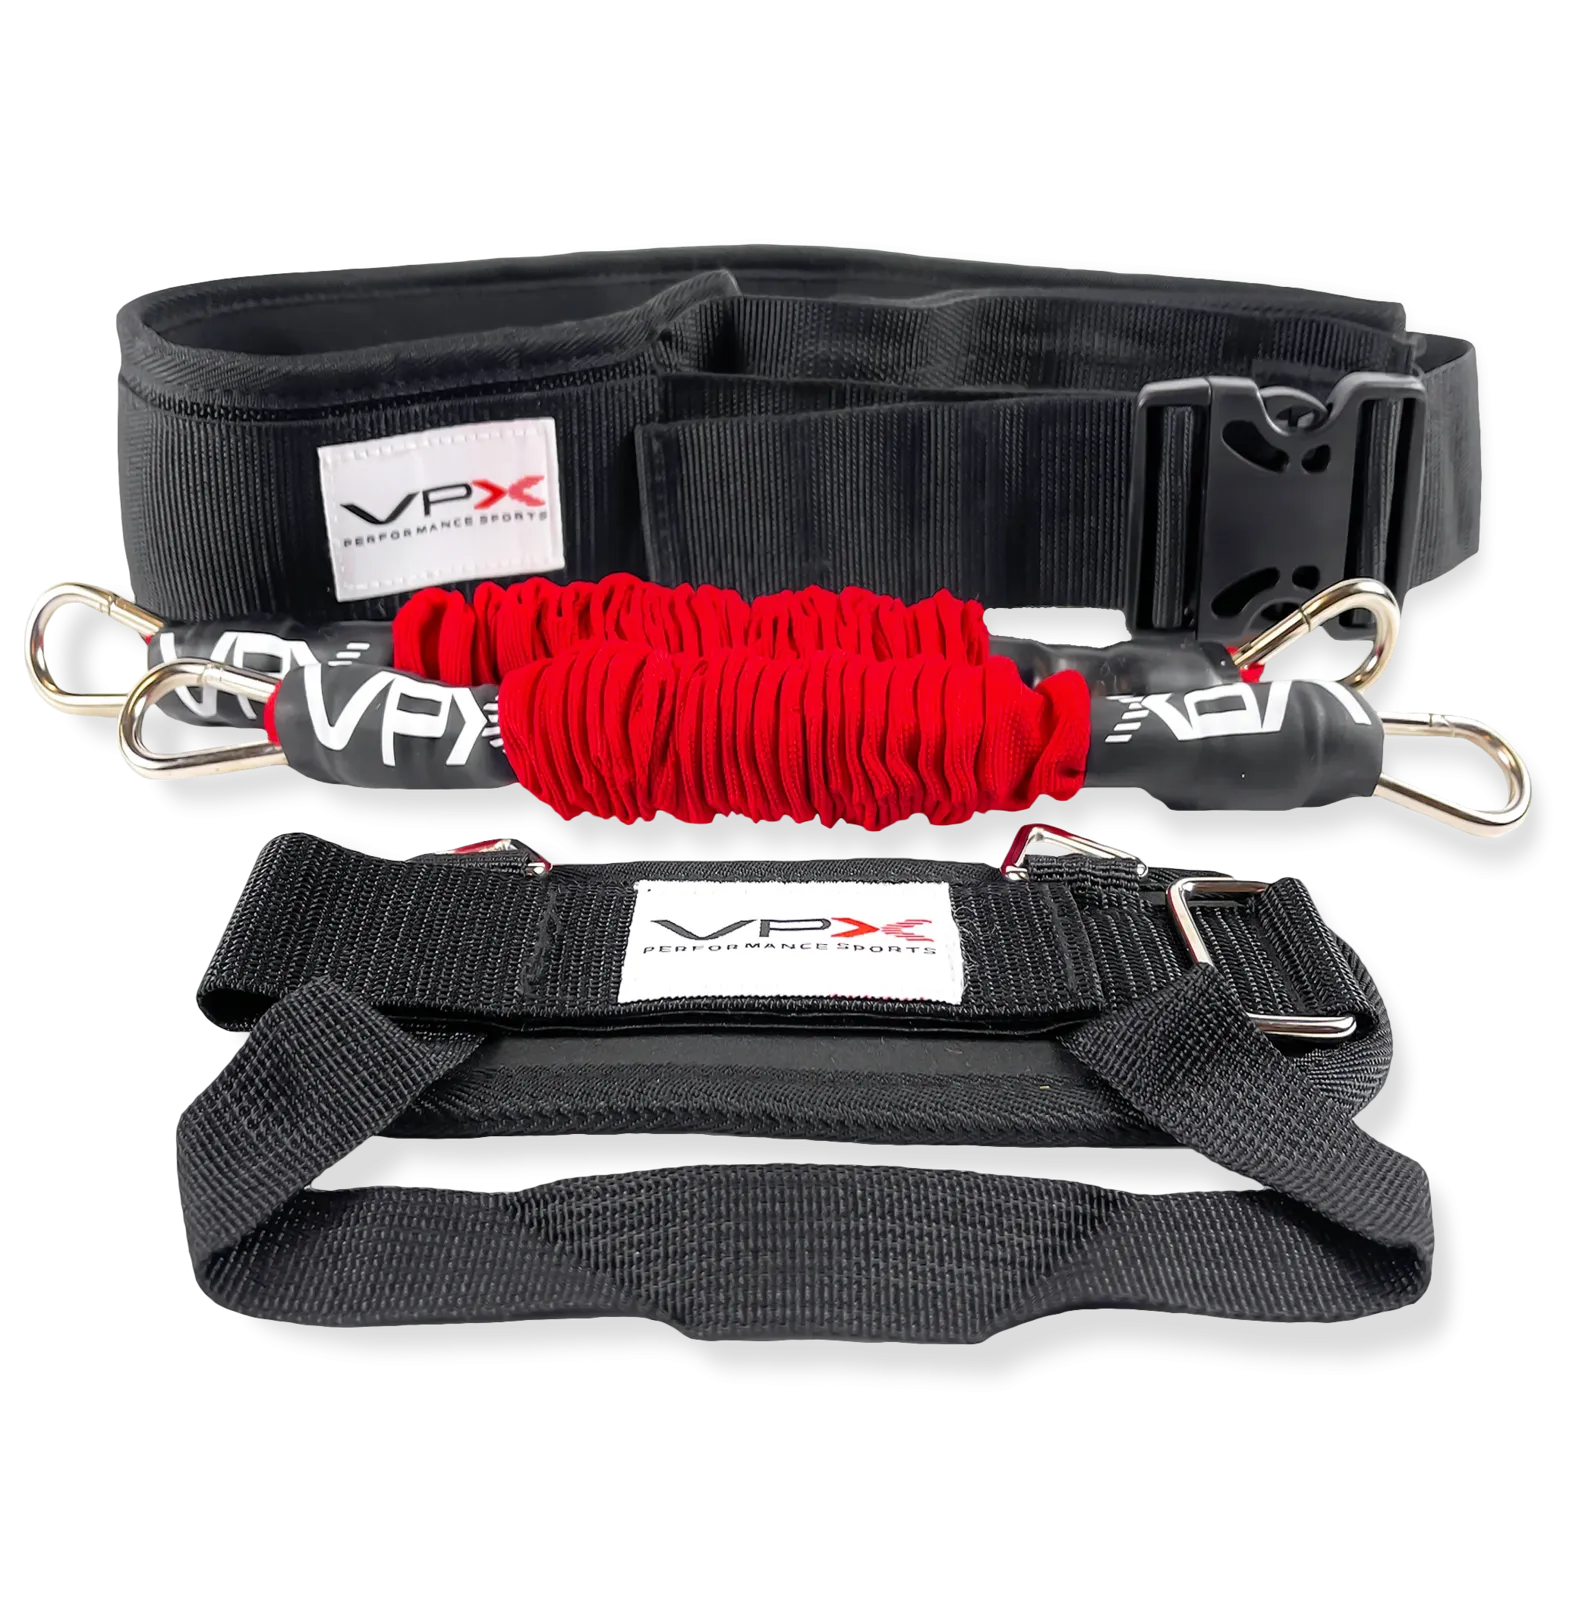
» Equipment: Program requires usage with prescribed equipment for maximum results.


▀ ▀ ▀ ▀ ▀
3.0 Recovery & Injury Prevention Guidelines:

→     If you experience extended soreness during this program:   

Cut back on rep amounts or intensities FIRST.
Cut back on drill amounts SECOND.
If soreness still persists, take days off & then start again THIRD.
If you experience sharp pain or injury, seek medical advice or stop the program until re-evaluation.
Athletes actively in season must carefully monitor recovery rates.


02

Program Overview


▀ ▀ ▀ ▀ ▀

1.0
Development Team:

» Developer: VPX Baseball.
» Consultants: Jim Parque (MLB player & current trainer), Sean Taunt (NCAA baseball coach), Allan Wirtalla (MLB strength coach), Gerard Cressey (kinesiologist),
and Jayson Roublette (pro hitting coach).


▀ ▀ ▀ ▀ ▀

2.0
Program Overview:

Over 15 years of data, research, and on field results have gone into this program's development. A complete baseball and softball specific strength program (hitters & pitchers) that develops the power and velocity. Developed from MLB experience and expertise, this program has various training components that peak athletic movement, speed, and muscular response.


▀ ▀ ▀ ▀ ▀
3.0
Performance Benefits:

» Focus: Builds the baseball and softball body.
» Movement: Peaks linear-to-rotational movement planes.
» Improvements: Muscle mass, speed, & muscular response.


03

Training Components


▀ ▀ ▀ ▀ ▀

✓  Directives:

This VPX Elite Strength Program lasts 8 weeks. Start at the beginning of the program for best results. Each day, you will complete 3 different training components (described below). Each training component targets specific aspects of your physicality. Complete each training component IN ORDER: (1) Daily Warm Up, (2) Daily Flex, and depending upon the day (3) Power Core, Total Body, Speed, or Fast Twitch.


▀ ▀ ▀ ▀ ▀
1.0
Training Components:

» Daily Warm Up: Gets your body warmed up.
» Daily Flex: Stretching & flex training.
» Mondays - Power Core: Builds the power within your hips, glutes, abs, and legs.
» Wednesdays - Total Body: Trains your entire body & kinetic chain reaction.
» Fridays - Speed: Develops top end speed & first step explosion.
» Saturdays - Fast Twitch: Quickens your fist step & motor response.


04

Program Legend


→   The following are explanations of the acronyms utilized within this program that denote usage, intensity, and effort directives.  

▀ ▀ ▀ ▀ ▀
(BH) Back Hip VPX Training Harness Usage:
  

1. Put the VPX Training Harness foot strap on your back foot and secure.
2. Strap the VPX Training Harness waist belt over your belly button and secure.
3. Make sure the belt's D-rings are located on the bottom of the waist belt and pointed downwards. Ensure the belt is snug around your waist.
4. Position the waist belt D-rings to be located on your (1) back hip and (2) middle of your back. There are 2 D-rings sewn into the waist belt.
5. Attach one bungeee to the waist belt D-ring located on your back hip. Clip the bottom of this bungee to the D-ring (of your foot strap) located on the outside of your back foot's ankle.
6. Attach the second bungee to the waist belt D-ring located in the middle of your back. Clip the bottom of this bungee to the D-ring (of your foot strap) on the inside of your back foot's ankle.
7. Ensure there is little to no sag of your waist belt. A little sagging is okay, but too much sagging requires tightening of your waist belt.


▀ ▀ ▀ ▀ ▀
(FH) Front Hip VPX Training Harness Usage:
  

1. Put the VPX Training Harness foot strap on your front foot and secure.
2. Strap the VPX Training Harness waist belt over your belly button and secure.
3. Make sure the belt's D-rings are located on the bottom of the waist belt and pointed downwards. Ensure the belt is snug around your waist.
4. Position the waist belt D-rings to be located on your (1) front hip and (2) middle of your back. There are 2 D-rings sewn into the waist belt.
5. Attach one bungeee to the waist belt D-ring located on your front hip. Clip the bottom of this bungee to the D-ring (of your foot strap) located on the outside of your front foot's ankle.
6. Attach the second bungee to the waist belt D-ring located in the middle of your back. Clip the bottom of this bungee to the D-ring (of your foot strap) on the inside of your front foot's ankle.
7. Ensure there is little to no sag of your waist belt. A little sagging is okay, but too much sagging requires tightening of your waist belt.


▀ ▀ ▀ ▀ ▀
(PEL) Perceived Effort Level:


The amount of effort or intensity level per rep. 100% is max intensity pitching. 90% are controlled high intensity swings. 80% are medium intensity swings that feel your hands throughout their entire ROM. 70% are phase specific swings that feel your entire swing’s movement planes


▀ ▀ ▀ ▀ ▀
Clipped or Unclipped:


» Clipped: Refers to actively having your VPX Training Harness bungees clipped for either (BH) or (FH) usage - as described above.
» Unclipped: Refers to unclipping all VPX Training Harness bungees so that you are not actively training with any harness resistance.


Step by step

Training Phases

6 phases

Section

🕐 Circuit Details


Daily Warm Up starts your blood flow and gets your muscles engaged for the day. Each exercise focuses upon a specific athletic movement plane to increase flexibility. The below exercise routine is to be done each day of the week that you train.

»
Focus:  Activates blood flow and gets your body ready for mobility.

» Exercises:  Each exercise is to be done for 20sec total.
» Recovery:  Ensure that you rest for 5sec in between exercises.
_ _ _ _ _ _ _ _ _ _ _ _ _ _ _


★★★★★
| Why VPX Developed This

"Blood flow is crucial to athletic mobility. By warming up your kinetic chain before stretching muscle groups is elite level training and this is why we developed a Daily Warm Up - to get your body moving before we stretch you out!"


Section

Drop Skips ➟ 20sec


Drop Skips engage your hip flexors and improve hip mobility. Hip power and flexilibility improves your overall athletic ability because lower half energy transfer rates require peaked hip performance throughout all movement planes.
_ _ _ _ _ _ _ _ _ _ _ _ _ _ _


»
Technique:  Alternate between left & right pictures for a total of 10 yards.

» Duration:  20 seconds total. Rest 5 seconds before starting next exercise.
» Benefits:  Engages hip flexors & rotational support.


1
2

Section

High Skippers ➟ 20sec


High Skippers are a kinetic leg drive exercise that engages your calves and knee joint support. By warming up the lowest portion of your kinetic chain, energy transfers from the ground up develop proper pathways through your entire body.
_ _ _ _ _ _ _ _ _ _ _ _ _ _ _

» Technique:  Alternate between left & right pictures for a total of 10 yards.
» Duration:  20 seconds total. Rest 5 seconds before starting next exercise.
» Benefits:  Improves kinetic leg drive & calf power.


Section

Butt Kickers ➟ 20sec


Butt Kickers develop muscular response within your hamstring and quadricep firing rates. Syncing the motor patterns of these muscle groups to transfer energy is crucial to developing elite speed and power within athletic performance.
_ _ _ _ _ _ _ _ _ _ _ _ _ _ _

» Technique:  Alternate between left & right pictures for a total of 10 yards.
» Duration:  20 seconds total. Rest 5 seconds before starting next exercise.
» Benefits:  Engages hamstrings. Improves sagittal movement plane.


1
2

Section

Carioca ➟ 20sec


Carioca focuses upon the rotational movement plane of your hips and entire lower half. Syncing lower half response rates to your movement tempo maximizes joint support and stabilizes fast twitch muscular response in your kinetic chain reaction.
_ _ _ _ _ _ _ _ _ _ _ _ _ _ _

» Technique:  Alternate between left & right pictures for a total of 10 yards.
» Duration:  20 seconds total. Rest 5 seconds before starting next exercise.
» Benefits:  Increases hip mobility & elastic force loading.


1
2